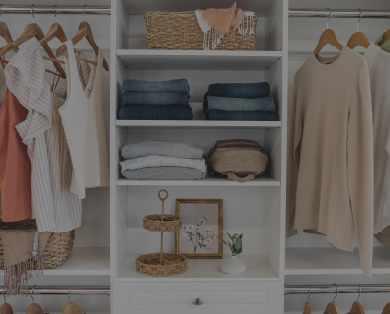
Designing a Pantry: Step 2 – Personalizing Your Space
What you learned:
Editing sections:
- Start on your All Walls view.
- If you have selected the autofill option, your pantry design may include some closet organization templates. You can change out these templates to suit your pantry.
- Click on wall you would like to adjust. Then double click any section (the space between two vertical panels) to edit its contents.
- The red trash can icon allows you to delete the section, the blue “Edit” pencil icon allows you to edit within the section and the white circle with black and white sheets are the “Duplicate Item” icon.
- If you add a section and it does not fit within the space, it will glow in red. Click “Resize Section” above the impacted area and then check “Auto Size All Sections” if you want your designs to be uniform and symmetrical.
Adding pantry accessories:
- Click the pantry section you would like to edit.
- Navigate to the Design Center in the right-hand control panel on your screen and make sure your “Filter” says “Filter: Pantry.”
- Click “Accessories” in the right-hand panel.
- Browse and drag the accessory you would like to add to your design. In the video example, we added in a platter divider.
Editing different walls:
- If you want to personalize the product on a different wall, you can either click one of the icons to your left (WALL 2, WALL 3, WALL 4, etc) OR click “ALL WALLS” in the same left-hand column. If you choose “ALL WALLS,” you will see all your walls appears on your 2D view. Select the one you would like to edit by simply clicking on it.
- The bottom right-hand panel also gives the option to select your wall of choice. Look for “SELECT WALL” and the corresponding wall numbers will follow. Select the one you would like to view.
- Navigate to the right-hand panel and select a wall in the “LAYOUT” icon by click on one of your walls.
Editing section templates:
- Select a section.
- Once it is highlighted in blue, navigate to the right-hand panel.
- Click the drop-down arrow and choose the type of template you’d like to edit. For example: Hanging, Shelves, Drawers, etc.
- Click on the template you’d like to include in your EasyClosets pantry solution.
- To change the width of your section, select your section. Once it is highlighted in blue, use the blue bars positioned to the left and right of the section and drag them until the section is your preferred size.
Different views:
- Click the “3D” view icon on the left-hand side of the screen to view your design in 3D.
- Click the "2D" view icon on the left-hand side of the screen to view your design in 2D.
Ready to take on your pantry organization project? Head to our online design tool to get started, or call 800.910.0129 and get free design help from our team!


